The Art of Amateur Astrophotography - Choosing a Target
If you’ve read my guide to the equipment for getting into the hobby of amateur Astrophotography, and haven’t been scared off yet, you may be wondering what the process is like once you have the equipment. I plan to answer that over the course of a few posts, starting with this one. In this post I’ll talk abut finding targets to photograph, which might seem like an easy question, but really is not! In a future post I’ll cover the process of taking the images, and in another I’ll cover the basics of processing the images.
In total, these posts should give someone a good overview of what the hobby of astrophotography involves. Hopefully it will help you decide if it’s a hobby you would enjoy if you’re considering it, or help you gain more appreciation for the work that goes into it.
As I said in my beginning equipment guide, a telescope is really just a fixed focal length camera lens. For those who aren’t photographers, what that means is there is no “zoom”. You can’t adjust a telescope to get a wider or narrower field of view, generally speaking. So, if you followed my advice, you may be looking at a small “widefield” refractor for beginning with the hobby. Let’s pretend for a second that you chose the exact same telescope I have, the William Optics Star 71, a telescope with a built in flattener. It’s got a 71mm aperture (that’s the diameter of the end you point at the sky) and a 350mm focal length. If you divide 350mm by 71mm, you get the focal ratio, which is f4.9.
This information gives you the basics of what you’d need to calculate a field of view, but of course you also need a camera! I’ll use a ZWO ASI533MC Pro as the example, as well as a DSLR, as those are the recommendations I gave in my equipment post.
I’ll be taking some data from this point from an excellent website, astronomy.tools I recommend you open that site and follow along. Select the imaging mode tab at the top. Let’s select a common object, M42, the Orion Nebula in “Messier”.
Now set the telescope to our William Optics Star 71 f4.9, and the Camera to our ZWO ASI533MC Pro.

This gives us some interesting info along the bottom. You can see our f4.9 Focal ratio, and next to it you can see our resolution. 2.23” per pixel. Next you can see our field of view at 1.86 x 1.86 degrees, and finally our Dawes limit at 1.63 arc/secs. I’ll get into each of those a little, but for now hit “Add to View”
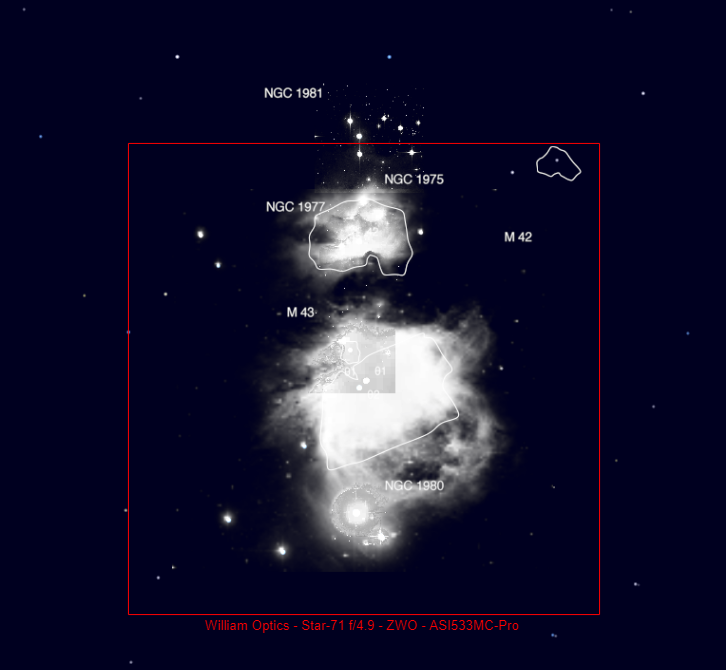
You can see here the framing of Orion within this telescope and camera combination.
Next we’ll add another camera to our telescope. Go back up to the camera dropdown, and select a Canon EOS 7D MKII, a common DSLR camera available now, and hit add to view again. Note the Focal Ratio is the same, but the resolution has changed to 2.43”, the field of view is now 3.69 x 2.46 degrees, and the Dawes Limit is still 1.63 arc/secs

You can see the differences in camera sensor size here.
You may be wondering how the canon can take a bigger picture, if the telescope is a fixed focal length? Well, it’s because the image sensor that records the photo in the canon is actually bigger. The 533MC pro doesn’t make full use of the light from the telescope, and some light goes off the edge of the sensor. The same is true for the canon. So, given this nifty tool, you can select different objects and see how they will frame in a telescope & camera combo. The key is the field of view will remain constant for a given telescope & camera combination. Orion looks like it will frame very well on either camera. However if you select a smaller target, such as M51, the Whirlpool galaxy, you’ll see it’s much smaller, and fills far less of the field of view.

That means, for the purposes of this post, the “Field of View” part of the astronomy tools page is the info we want to focus on. It tells us how much of the sky our telescope & camera combination can see. Given that info, we want to find targets that frame well within our equipment. How do we do that? Well, the first thing is to understand the sky itself.
As the seasons pass, the earth rotates around the sun. Depending on what time of year it is, what’s visible in the night sky changes. As I write this, it’s spring. Often referred to as “galaxy season”, in the spring the earth is on the side of the sun furthest from the core of the milky way. So at night, when we look straight up, we’re looking out away from our own galaxy and into the vastness of space. There are stars and objects still within the milky way, but not near as many as other times of the year. Things outside of the milky way tend to be smaller, and require a longer focal length telscope, which results in a narrower field of view.
So, seasons play a role in our imaging targets!
There are lots of resources available these days for finding out what’s overhead. Stellarium is an app I use on both my phone and PC. Cartes du Ciel is another. Nina has a great sky atlas built in. Using those, you can search for targets that fit nicely within your given field of view. You want to find things that rise just after dark, so you have as much time as possible to image. As days go by, the moon moves through the sky. Ideally you want to image during a “new moon” when the moon is dark, but that’s not always possible. So you need to make sure your target is not right near the moon.
If this sounds confusing, I encourage you to get Stellarium, or another similar app, and begin getting used to the sky, and what’s in it. Spend time looking around and seeing what’s up there, learn where the moon is, and how bright it is. This will be time well spent!
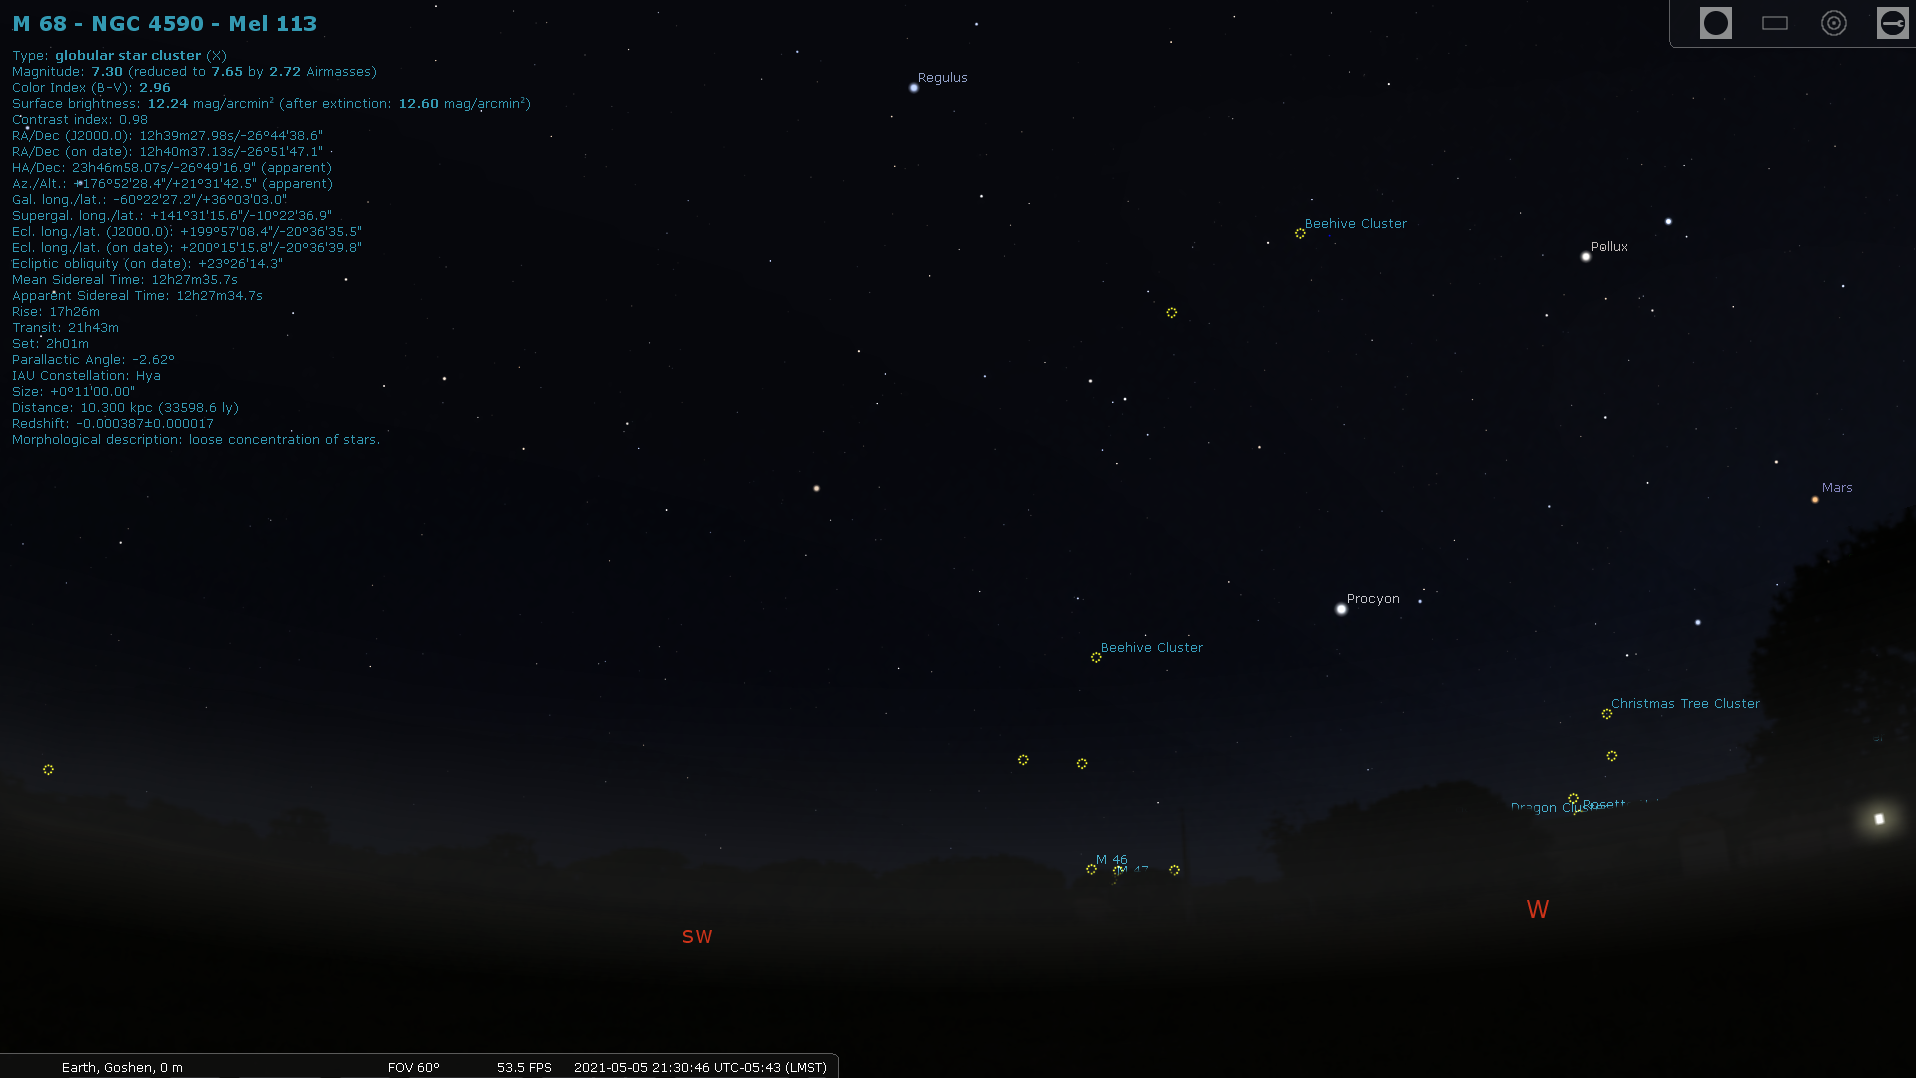
The stellarium interface, showing nebula currently in the sky
Another point - your target does not have to fill your field of view! Capturing things “in context” can result in beautiful images, too. In addition, there’s a lot of dust in space, so some targets such as the Iris nebula, may look too small at first, but when you spend enough time imaging them can show a fantastic amount of dust around them.

M51 in a 2.23” x 2.23” field of view
In addition, not all targets individually have to be big to fill a field of view - clusters of galaxies make great targets, and can fill very large fields of view very well.

Markarian’s chain, a galaxy cluster
How do I typically find what to target, then? I use a combination of methods. I look at Stellarium. I search online for what others are imaging currently (astrobin is great for this), I read forums such as Cloudy Nights, and see what people there are imaging. I use tools such as Nina’s Sky atlas. And then I just pick something that I think will look nice in my equipment, and go for it! The more time you spend in astronomy as a hobby, the more you’ll get to know what’s in the sky, what’s popular to image, and what uncommon targets there are. You’ll get a list going of things you want to image, and then start to hope for clear, moonless nights so you can get the target you’ve been waiting for!
Lastly, I would be remiss if I didn’t touch on resolution and being “properly sampled”. Undersampling means you have too few of pixels (pixels too large vs. your telescopes capability & seeing). Oversampling means you have too many pixels, more than your telescope’s resolution and your seeing can properly fill.
So, you can think of Understampling as trying to draw a modern game using 8 bit pixels from an old nintendo game. Blocky and not making full use of the level of detail you could possibly achieve. Oversampling is having a 4k TV and displaying an old nintendo game on it. Lots more pixels than you need.
You may find yourself thinking that oversampling doesn’t sound too bad. But if you think of each pixel in the sensor as a bucket catching photons as they come in, if you’re over sampling then you’re spreading those photons out over a lot more buckets. In addition, the effects of seeing spread out the distribution of those photons across the buckets poorly. The absolute MAXIMUM for sampling is Dawes limit - it’s the max theoretical resolution your optics are capable of, even in ideal seeing. If you’re oversampling beyond the Dawes limit of your optics, your images will suffer.
So, what’s a proper range to go for on your resolution? To know the answer to this, there are lots of great sites online that dig into the math, the idea of “seeing” (how turbulent the atmosphere is where you are), theoretical resolution, etc. I’m not going to dig into that here - instead, I’ll give the “rule of thumb” summary. 2 - 3” per pixel is ideal. It’s better to be slightly undersampled than oversampled. My WO Star 71 with my ASI533MC gives me a resolution of 2.23” per pixel. When I upgrade to my next telescope, a Celestron RASA 8, I’ll be at 1.94” per pixel.