Dice Throne DIY Player Dashboard
I recently got into playing Dice Throne, and love it. I saw some player dashboards posted online, and rather than purchasing decided to try a DIY approach to them. Initially I was going to CNC them on my shapeoko, but I decided to go the craft route, and selected EVA Foam as the primary material.
I chose the foam for a few reasons:
It’s very lightweight
It’s easy to shape with few tools required
It’s easy to Glue
It’s readily available at craft stores
The materials list I used:
10mm EVA Foam (I purchased a roll that’s 60x24 from Hobby Lobby for $25, you can make several dashboards with a single roll)
5mm EVA Foam (Also from Hobby Lobby, $13 per 60x24 roll)
Art Board 16x20 (From Hobby Lobby, $5.50 each, essentially hard cardboard. I used 2 of these)
Gel Superglue (You’ll go through a lot! Craft glue may work better)
Tools I used:
Stanley Knife (or exacto knife - you’ll want a leather strop to keep it sharp! or you’ll go through a lot of blade)
Dremel with sanding drum (optional)
Mechanical Pencil
Straight Edge / Ruler
I made two boards, the first using 5mm EVA foam, backed with 3mm eva foam, and boarded on corrugated plastic. The total size was 14 inches x 20 inches. I learned a lot making the first one. The second one was made of 10mm EVA Foam, 5mm EVA Foam, and hard cardboard. The total size was 16 inches x 20 inches. I’m going to detail the second, because I think the end result is better, but by no means is this the only process or necessarily the best result. This is a very easy project to tailor to what you want out of it. Many other materials could work - one idea I had was to stack layers of foamcore, which is very inexpensive, and even easier to work with in some ways than EVA foam. Even regular cardboard sheets could work.
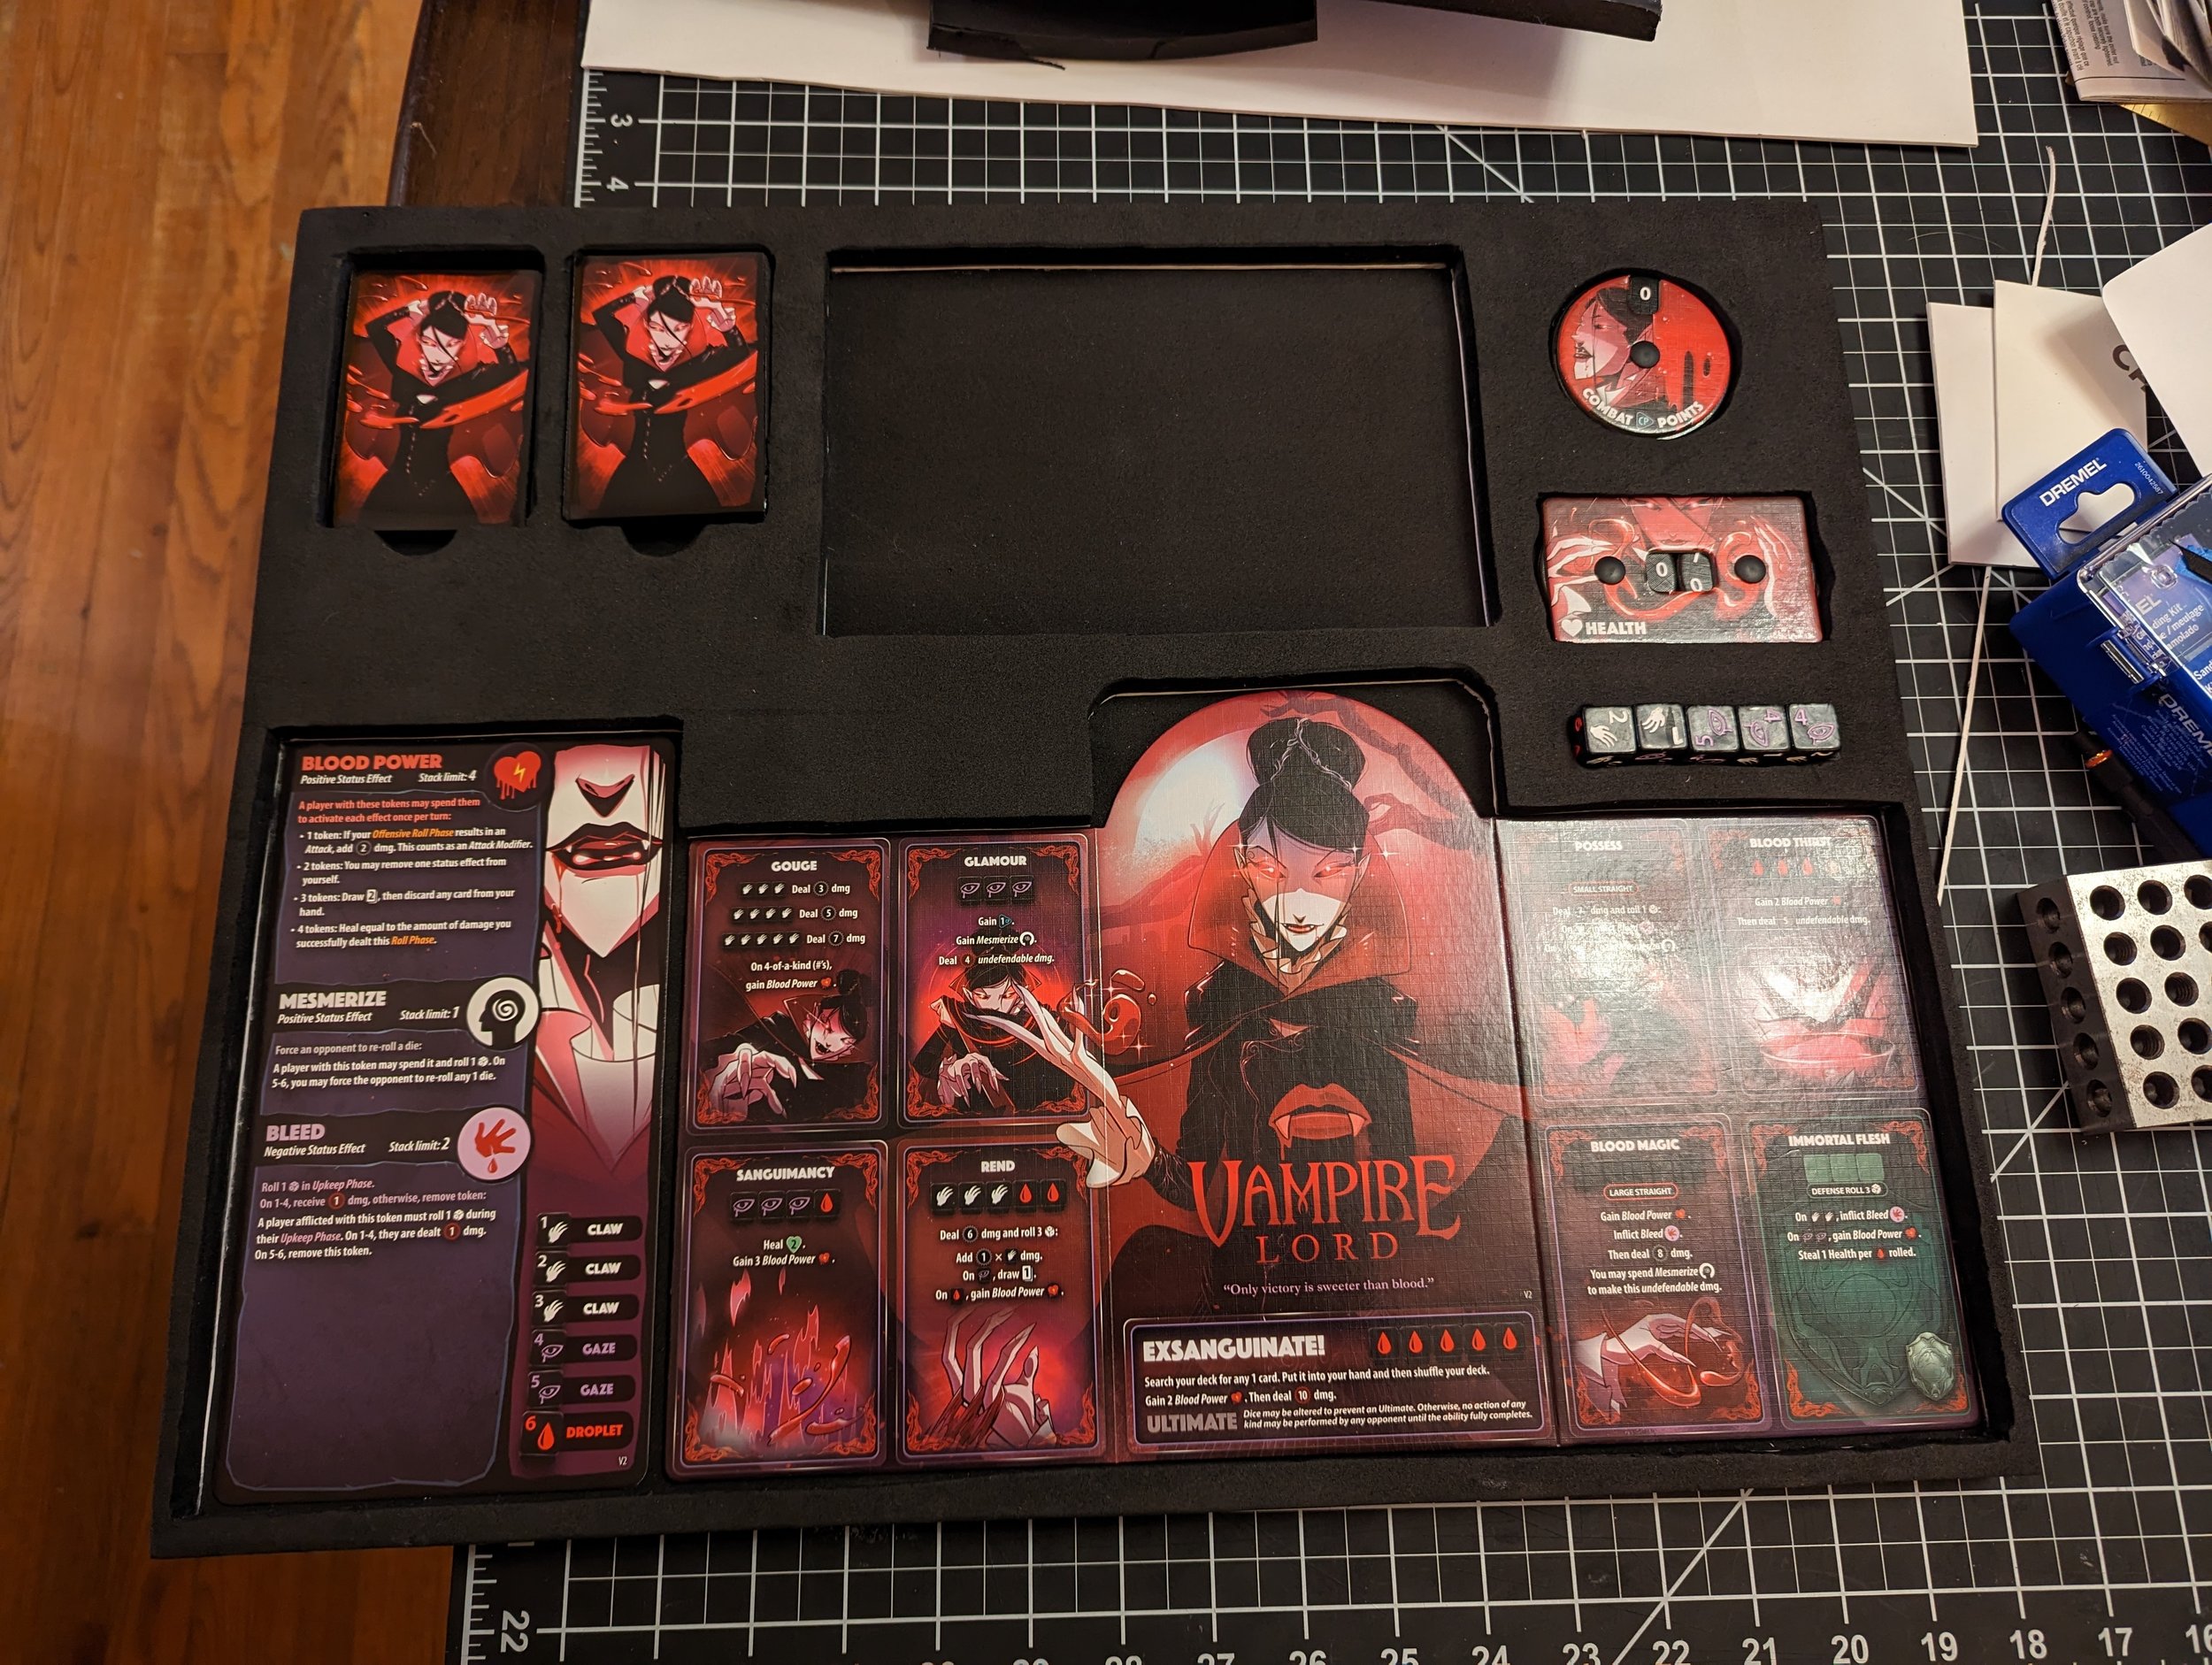
The first step was to cut templates for the different components. I simply traced everything onto cardstock. Note you’ll want two card templates, and the small rectangle is for the dice. This is mostly for placement and layout testing.

For my first attempt (pictured above) I taped those and traced them onto the EVA foam. For the second one, I layed them out onto heavy cardboard, and used them as guides, then marked the lines out using a straightedge.

I used a stanley knife to cut the shapes out of the cardboard. I just cut freehand and followed the lines. Keeping your blade sharp with a strop really helps!

I put glue onto the top surface of the cardboard, and flipped it to glue it to the 10mm thick EVA foam sheet. I used gel superglue. The first time I used contact cement, but found it a pain to work with, and it took much longer to dry. I had a few heavy items on the EVA foam to help hold it flat.

Once the glue dried, I used a stanley knife to cut the foam, using the cardboard as a guide.

Next I used a dremel to smooth out the foam using a sanding drum. This isn’t required, but did give better edges. Practice on a test piece first, wear a mask, and know that it generates a LOT of dust. You could skip the dremel if your stanley knife is very sharp, and you’re careful with your cuts.
Once the foam was all cleaned up, I put superglue on the cardboard side, and glued it down to a piece of 5mm foam.

I also glued some of the scrap 5mm foam under the combat tracker, health tracker, and dice slots, so they didn’t sit in so deeply.

That result was good, but did bend a tad more than I wanted, so I opted to glue a sheet of the cardboard to the bottom to make it more rigid.
Here is the first one I made, using 5mm EVA Foam, and backed with 3mm EVA foam and corrugated plastic. This one is also a 14x20 design, instead of the 16x20 of the second one. I did not use a dreamel to clean this one up, and the cuts were all freehand.
